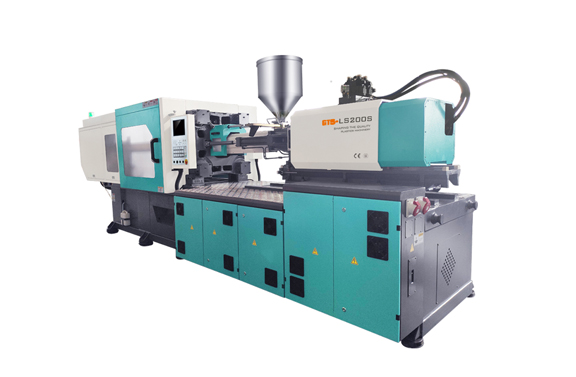
What are the installation steps of injection molding machine mold? injection molding machine There are many mold installation steps, and each step needs careful operation from installation to debugging. In the mold installation process, there will be some problems. Today, Liansheng injection molding machine manufacturer will introduce the mold installation steps and quick mold change skills in detail.

Mold installation steps:
1、 Make adequate preparations
Turn on the power supply, start the manual button of the injection molding machine, make the equipment in the manual state, click the oil pump button, and start the oil pressure system of the injection molding machine. After these operations are ready, prepare the sling and transport the mold in place, and pay attention to ensure that the mold is consistent with the product accessories.
2、 Install the mold
Use the sling to slowly lift the mold above the installation position, and be careful and slow to avoid hitting the surrounding objects; Slide the protective sleeve of the guide pillar of the injection molding machine to a proper position, and the installer shall hold the mold to make it fall stably to a proper position; Install the positioning flange and protective ring to make them fit with the injection opening; Close the sliding door and start the mold adjustment button to enter the mold adjustment state.
3、 Complete mold adjustment
Start the manual state of the injection molding machine, click the mold closing button to make the injection molding machine press the mold tightly; Click the detection button to enter the password to enter the detection interface, and enter the number "1" after the mold is switched on and off. At this time, the mold spacing data is reset to zero. Click the manual button to exit the detection status.
Install 8 mold pressing blocks on both sides, install cooling water pipes at the same time, enter the detection interface again, and also input the number "1" after opening and closing the mold to make the mold spacing data of opening and closing return to zero, and click the manual button to exit the detection state.
After completing the above operations, open and close the mold in the mold adjustment state to ensure that the mold is installed correctly, and then conduct parameter design as required.


